
Integrating Keycloak with Aspire - Part 1
In my series on ASP.NET Identity, I mentioned (several times) that you should be using Keycloak, Auth0, Corbado, or another identity service instead of rolling your own. That’s all good, but I left it up to you to figure out exactly how to do that. I thought it would be a good idea to configure an Aspire project from the beginning and show how authentication and authorization with a service works. This article will be more of a “make the code work” type of article, with follow-on articles on setting Keycloak up properly.
Let’s start with a basic app:
dotnet new aspire-starter
You can also create a project in Visual Studio - it’s called the “.NET Aspire Starter Project”. It consists of four actual projects:
- A minimal API project that returns some weather data,
- A Razor Pages project that uses the API and displays what it returns,
- An Aspire AppHost project, and
- An Aspire ServiceDefaults project.
I’ve covered Aspire before. For those new to the blog, Aspire is an opinionated cloud-native stack for running .NET microservice applications. In this context, the web API and Razor Pages apps are considered microservices.
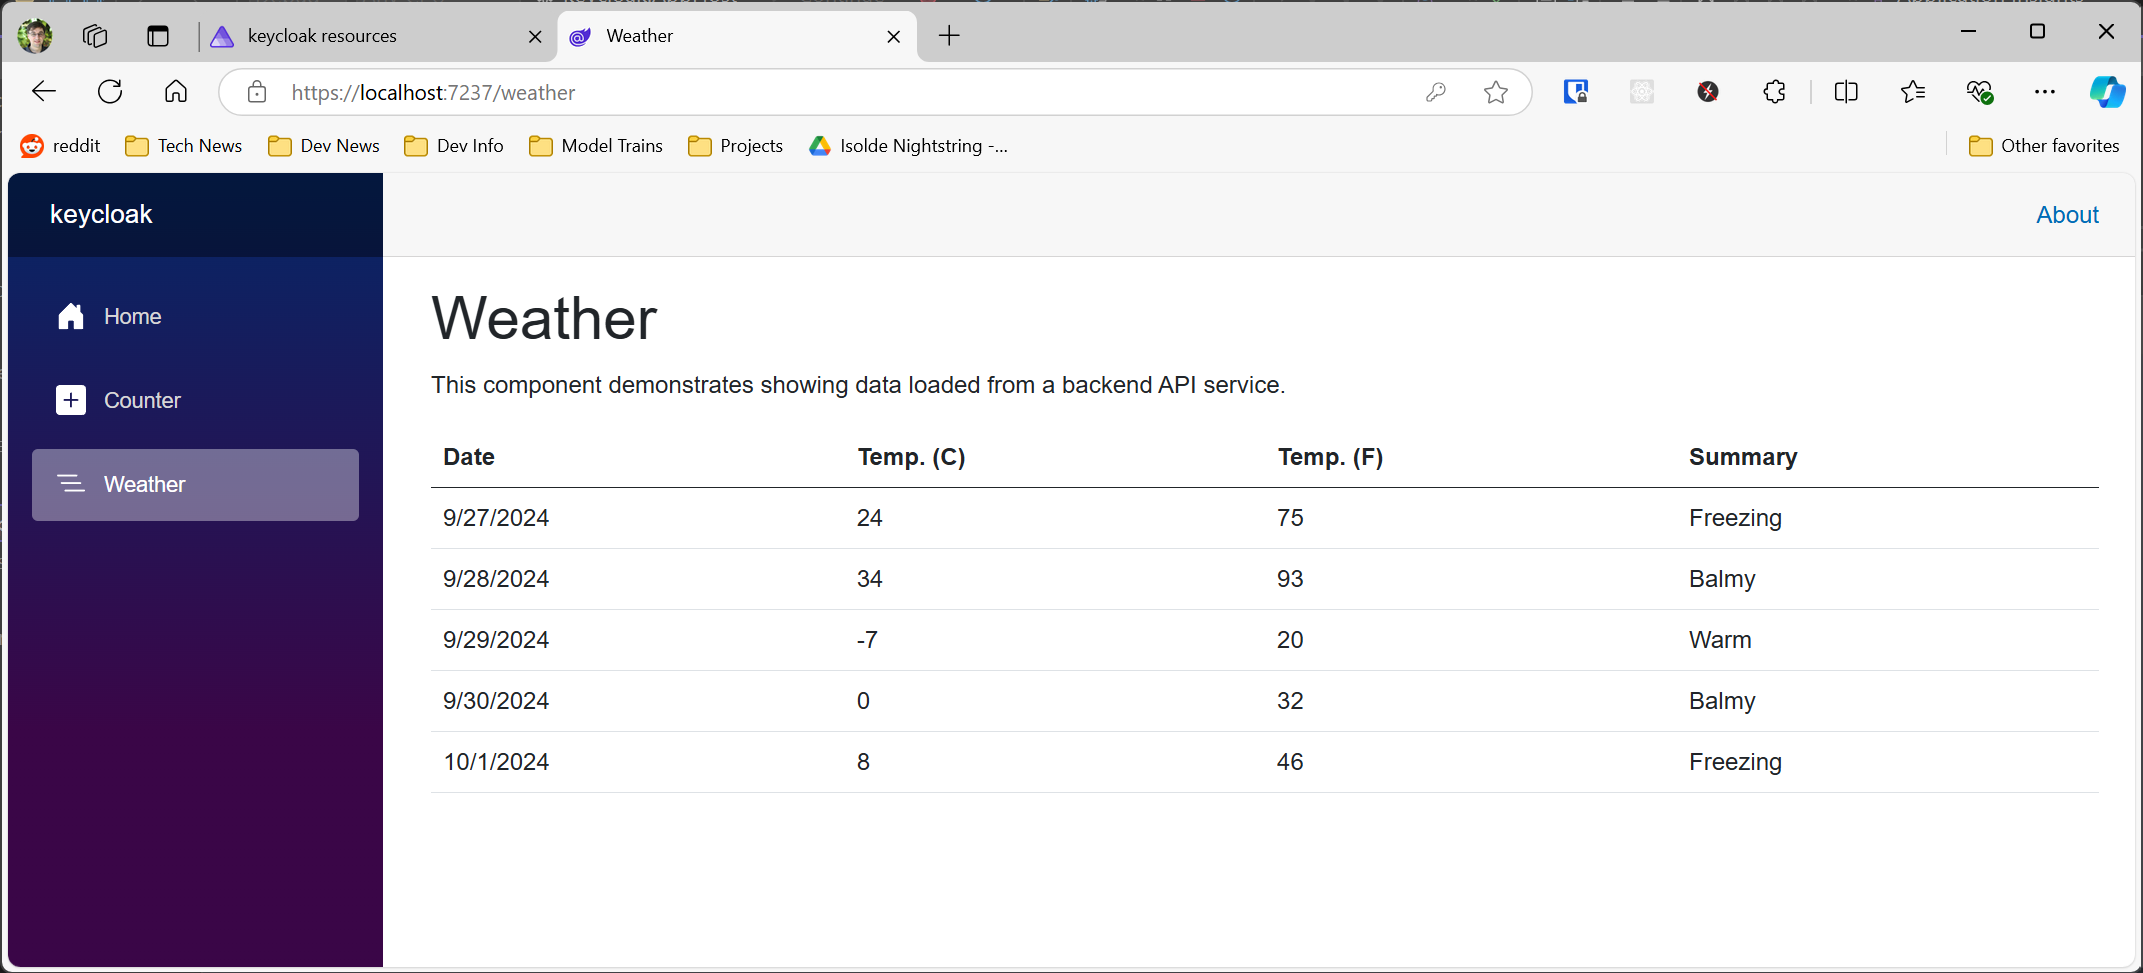
You can run the application immediately after creating the app. It will spin up two containers (one for each service) and then open a management console, allowing you to click on the link for the web frontend and display the UI. You can then click on the Weather link to see the data.
Want to skip the article and get right to the sample? You can find it on my samples repository.
Create a Keycloak resource
Oleksii Nikiforov has created a set of NuGet packages for working with Keycloak and Aspire. I’ll be using these packages today. First, let’s set up a Keycloak service for us to use. Start by adding the Keycloak.AuthServices.Aspire.Hosting NuGet package to your AppHost project.
Duplicate Package Warning
Since writing this article, the Aspire team has also released a Keycloak integration without a (necessary) method to reference the realm you will create. Make sure you are usingKeycloak.AuthServices.Aspire.Hostingas the package if you wish to follow this article.
Then, add the following files from the Aspire template that Oleksii provides:
These should be placed in the KeycloakConfiguration folder of the project (which you will have to create). These are exports from a functioning Keycloak configuration and implement a test realm. In a future article, I’ll be setting up a new realm from scratch to replace these files. Note that these files contain secrets - things like passwords for users. You should only ever use these for testing and development.
Edit the AppHost Program.cs. It should look like this:
var builder = DistributedApplication.CreateBuilder(args);

var keycloak = builder
    .AddKeycloakContainer("keycloak")
    .WithDataVolume()
    .WithImport("./KeycloakConfiguration/Test-realm.json")
    .WithImport("./KeycloakConfiguration/Test-users-0.json");

var realm = keycloak.AddRealm("Test");

var apiService = builder
    .AddProject<Projects.keycloak_ApiService>("apiservice")
    .WithReference(realm)
    .WithEnvironment("Keycloak__ClientId", "workspaces-client")
    .WithEnvironment("Keycloak__ClientSecret", "ze4SQDpbyBlB72kdTCTv8ecSWsJHf2Js");

builder.AddProject<Projects.keycloak_Web>("webfrontend")
    .WithExternalHttpEndpoints()
    .WithReference(apiService)
    .WithReference(realm)
    .WithEnvironment("Keycloak__ClientId", "workspaces-client")
    .WithEnvironment("Keycloak__ClientSecret", "ze4SQDpbyBlB72kdTCTv8ecSWsJHf2Js");

builder.Build().Run();
You can pull the client secret from the Test-realm.json file. I should note that this is NOT the way to configure Keycloak (or OAuth2 / OIDC in general). You should have a unique client registration for each service and each one should be independently configured with their own secret. However, this will work and it centralizes the configuration of the identity service in one place.
Adding the .WithReference(realm) adds two environment variables Keycloak__Realm and Keycloak__AuthServerUrl to each container. We then add the client ID and client secret that are going to be used in the OIDC / OAuth2 “dance” that deals with authentication and authorization. The configuration will be equivalent to this:
{
  "Keycloak": {
    "Realm": "Test",
    "AuthServerUrl": "http://localhost:8080",
    "ClientId": "workspaces-client",
    "ClientSecret": "ze4SQDpbyBlB72kdTCTv8ecSWsJHf2Js"
  }
}
The
Keycloak.AuthServiceslibraries useKeycloak:ResourceandKeycloak:Credentials:Secretas a convention instead ofKeycloak:ClientIdandKeycloak:ClientSecret. You can save yourself a couple of lines of code by conforming to the convention instead. I prefer to use the same terminology within config that all the other common OIDC servers use.
This is enough to configure Keycloak authentication in each project.
For a good primer on OIDC and OAuth2, check out this video on YouTube for a great explanation.
You can now run the project again. You will see the Keycloak container start on https://localhost:8080. Click on that link.
- Log into the admin console with username admin and password admin.
- In the left hand menu, there will be a dropdown that shows “Keycloak” selected. Select “Test” instead.
- Select Users.
- Select one of the users (test1, test2, or test3).
- Select the Credentials tab.
- Press the Reset password button.
- Fill in the form (make sure you turn “Temporary” off), and save to perform the action.
Now that I know the password for one of the users, I can turn my attention to the code updates.
Add authentication and authorization to the Web API project
Let’s start with the Web API project. First, I need to add three NuGet packages to my project:
Keycloak.AuthServices.Aspire.HostingKeycloak.AuthServices.AuthenticationKeycloak.AuthServices.Common
I’ll need to add these same three packages to the web frontend as well (and, indeed, any other project that needs to do authentication and authorization).
Next, let’s edit the Program.cs to add authentication and authorization:
using Keycloak.AuthServices.Authentication;

var builder = WebApplication.CreateBuilder(args);

// Add service defaults & Aspire components.
builder.AddServiceDefaults();

// Add services to the container.
builder.Services.AddProblemDetails();

// Keycloak Support
builder.Services.AddKeycloakWebApiAuthentication(
    builder.Configuration,
    options =>
    {
        options.Audience = builder.Configuration["Keycloak:ClientId"];
        options.RequireHttpsMetadata = false;
    }
);

builder.Services.AddAuthorization();

var app = builder.Build();

app.UseExceptionHandler();
app.UseHttpsRedirection();
app.UseAuthentication();
app.UseAuthorization();

app.MapGet("/weatherforecast", WeatherApi.GetWeather).RequireAuthorization();

// Map Aspire health check endpoints
app.MapDefaultEndpoints();

app.Run();
There are two new service groups. The .AddKeycloakWebApiAuthentication() adds an OIDC authentication client. You can read all about this in the Keycloak.AuthServices documentation.
I have to set two options explicitly:
Audiencemust be set to the client ID of the client you are expecting.RequireHttpsMetadatais set to false because the default configuration of the Keycloak service is to usehttp(non-SSL) only.
When we set up a production service, RequireHttpsMetadata will not be required (it defaults to true). The majority of the options are pulled from the Keycloak section of the configuration, which are passed in via environment variables from the AppHost.
Other than that, everything else is standard ASP.NET Core authentication and authorization.
If you run the project at this point, you should notice that the weather link will show “Loading…”. In the output console, you will see an exception which is the result of the authorization. The Web API will return a 401 Unauthorized. The weather API caller is not resilient to errors of this nature in the starter app and doesn’t know what to do with the failure.
Add authentication and authorization to the web frontend
Now let’s move our attention to the web frontend. I need the same three NuGet packages to support authentication. The Program.cs looks like this:
using keycloak.Web;
using keycloak.Web.Components;
using Keycloak.AuthServices.Authentication;
using Microsoft.AspNetCore.Authentication.OpenIdConnect;
using Microsoft.IdentityModel.Protocols.OpenIdConnect;

var builder = WebApplication.CreateBuilder(args);

// Add service defaults & Aspire components.
builder.AddServiceDefaults();

// Add services to the container.
builder.Services.AddRazorComponents()
    .AddInteractiveServerComponents();

builder.Services.AddOutputCache();
builder.Services.AddHttpContextAccessor();
builder.Services.AddScoped<DownstreamApiTokenHandler>();

builder.Services.AddHttpClient<WeatherApiClient>((services, client) =>
    {
        // This URL uses "https+http://" to indicate HTTPS is preferred over HTTP.
        // Learn more about service discovery scheme resolution at https://aka.ms/dotnet/sdschemes.
        client.BaseAddress = new("https+http://apiservice");
    })
    .AddHttpMessageHandler<DownstreamApiTokenHandler>();

builder.Services.Configure<CookiePolicyOptions>(options =>
{
    options.CheckConsentNeeded = context => true;
    options.MinimumSameSitePolicy = SameSiteMode.Unspecified;
});

builder
    .Services.AddAuthentication(OpenIdConnectDefaults.AuthenticationScheme)
    .AddKeycloakWebApp(
        builder.Configuration.GetSection(KeycloakAuthenticationOptions.Section),
        configureOpenIdConnectOptions: options =>
        {
            // we need this for front-channel sign-out
            options.SaveTokens = true;
            options.ResponseType = OpenIdConnectResponseType.Code;
            options.RequireHttpsMetadata = false;
            options.ClientId = builder.Configuration["Keycloak:ClientId"];
            options.ClientSecret = builder.Configuration["Keycloak:ClientSecret"];
            options.Events = new OpenIdConnectEvents
            {
                OnSignedOutCallbackRedirect = context =>
                {
                    context.Response.Redirect("/Home/Public");
                    context.HandleResponse();

                    return Task.CompletedTask;
                }
            };
        }
    );

builder.Services.AddAuthorization();

var app = builder.Build();

if (!app.Environment.IsDevelopment())
{
    app.UseExceptionHandler("/Error", createScopeForErrors: true);
    // The default HSTS value is 30 days. You may want to change this for production scenarios, see https://aka.ms/aspnetcore-hsts.
    app.UseHsts();
}

app.UseHttpsRedirection();

app.UseStaticFiles();
app.UseAntiforgery();
app.UseOutputCache();
app.UseAuthentication();
app.UseAuthorization();

app.MapRazorComponents<App>()
    .AddInteractiveServerRenderMode()
    .RequireAuthorization();

app.MapDefaultEndpoints();

app.Run();
There are a few additional services here.
.AddHttpContextAccessor()adds a service for accessing theHttpContext, which is required for getting the access token required for the Web API..AddScoped<DownstreamApiTokenHandler>()adds a message handler for passing along the access token to the Web API. More on this later..AddHttpClient()introduces a HTTP client for accessing the Web API. This existed before, but I’ve added the message handler to it.- The
.AddAuthentication()and associated services adds Keycloak authentication to the system. - Finally, I’ve added the usual ASP.NET Core authentication and authorization services and middleware. I’ve also required authorization everywhere to trigger the login process.
Note that the Web API only needed the client ID. However, the Web App needs both the client ID and client secret.
By default, the HttpClient that is generated doesn’t know anything about the authentication and authorization process. You have to tell it to add the Authorization header. The HttpContext contains a method .GetTokenAsync(<token-type>) that can return the appropriate token to pass onto the Web API. The DownstreamApiTokenHandler is a class that is used for exactly that purpose:
using Microsoft.AspNetCore.Authentication;
using System.Net.Http.Headers;

namespace keycloak.Web;

public class DownstreamApiTokenHandler(IHttpContextAccessor httpContextAccessor) : DelegatingHandler
{
    protected override async Task<HttpResponseMessage> SendAsync(HttpRequestMessage request, CancellationToken cancellationToken)
    {
        HttpContext? context = httpContextAccessor.HttpContext;
        if (context is not null)
        {
            string? accessToken = await context.GetTokenAsync("access_token");
            if (accessToken is not null)
            {
                request.Headers.Authorization = new AuthenticationHeaderValue("Bearer", accessToken);
            }
        }

        return await base.SendAsync(request, cancellationToken);
    }
}
AccessTokenPropagationHandler in the Keycloak.AuthServices.Authorization library does the same thing.
You can now run the program again. It’s worthwhile following the logic here:
- You click on the Weather link to load the Weather page.
- The
WeatherApiClientis created to call the Web API. - Dependency Injection injects a
HttpClientthat was defined with.AddHttpClient(). It has theDownstreamApiTokenHandlerdefined. - When the
WeatherApiClientis called, it uses theHttpClientto send the request. - The
DownstreamApiTokenHandleris called for each request. It grabs the access token from the context and adds it as an Authorization header to the request before sending. - Control then passes to the Web API, which decodes the token and validates it with the settings it has. If authorized, the data is returned.
Final thoughts
This is a good introduction to using Keycloak for authentication and authorization. However, there are several ways that this can be improved:
- The Keycloak server does not use SSL. In production, this is a must-have.
- The Keycloak server uses a H2 database, which is not really suitable for production. Switching to PostgreSQL or another database should be a high priority.
- I have not configured the various flows (user sign up, password reset) appropriately for production.
- I have not defined the clients correctly for either production or development.
- I have secrets (even if they are only test secrets) in my repository - this is a big security no-no.
There is still a significant amount of work to do in defining things correctly, and I’m going to cover these in future articles.
Further reading
- The project so far
- Keycloak
- .NET Aspire (check out Discord and samples)
- ASP.NET Core Security


Leave a comment